Baked Pita Chips with Za’atar are ideal for dipping in hummus or sprinkling over a salad. Easy to make and so much tastier than store-bought, your friends and family will love these healthy baked chips.

I wouldn’t be surprised if hummus runs through my veins. It was the first Middle Eastern recipe I learned from my Great Aunt Vieve when I was a little girl, and continues to remind me of her to this day. Other recipes that always make me feel like I’m back in the kitchen with her include Syrian Salad, Lebanese Rice Pilaf and Hushwee. My favorite thing to pair with hummus is pita chips, and my Baked Pita Chips with Za’atar are not only delicious, but so easy to make. Great as a snack or appetizer, you’ll make them again and again!
Ingredients
- Pita bread: Commonly found in the Middle East, it naturally forms an air pocket in the middle, which makes for delicious, crispy, layered chips.
- Olive oil: Heart healthy oil that helps get the pita chips nice and crisp and makes the seasoning stick.
- Za’atar: A common Middle Eastern spice blend made from thyme, sumac, sesame seeds, and more. It has a smoky, earthy flavor.
- Salt and pepper: Salt enhances the natural flavors of the other ingredients, and pepper adds a bit of heat. Toss in some cayenne if you like even more of a kick!
How to Make Baked Pita Chips with Za’atar

Start your Baked Pita Chips with Za’atar by taking your pita bread and cutting them into triangles. They can vary in size, and you can keep going until you get to the size of your liking.

After your pita bread is all cut up, put the pieces in a large bowl and drizzle with olive oil. Toss so they’re all a bit coated before seasoning.

Then season your pita bread pieces with the za’atar, salt, and pepper.

Then give the pita bread a good toss to make sure everything is evenly coated. You could use a spoon, but I find that my hands are the best tool for this job.

Once evenly coated, lay out your pita triangles in a single layer on two prepared baking sheets.

Then bake in the oven at 350 degrees until golden brown and crispy, about 10 minutes.

Once pita chips are baked to your liking for the perfect crunch, remove from the oven and let cool. Then serve with your favorite dip, and enjoy!
Frequently Asked Questions:
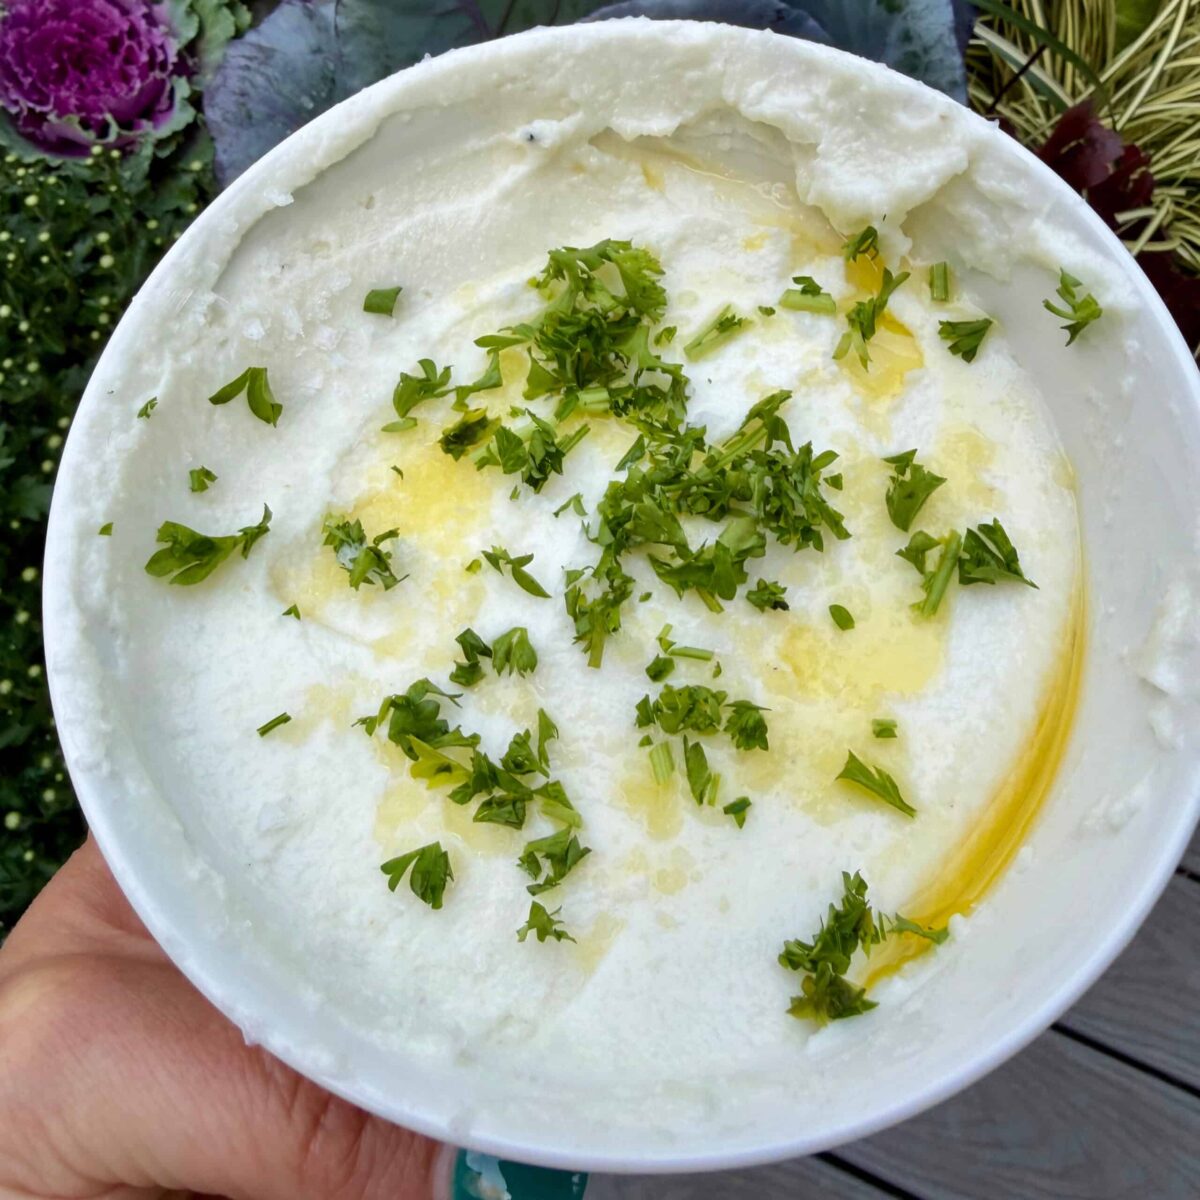
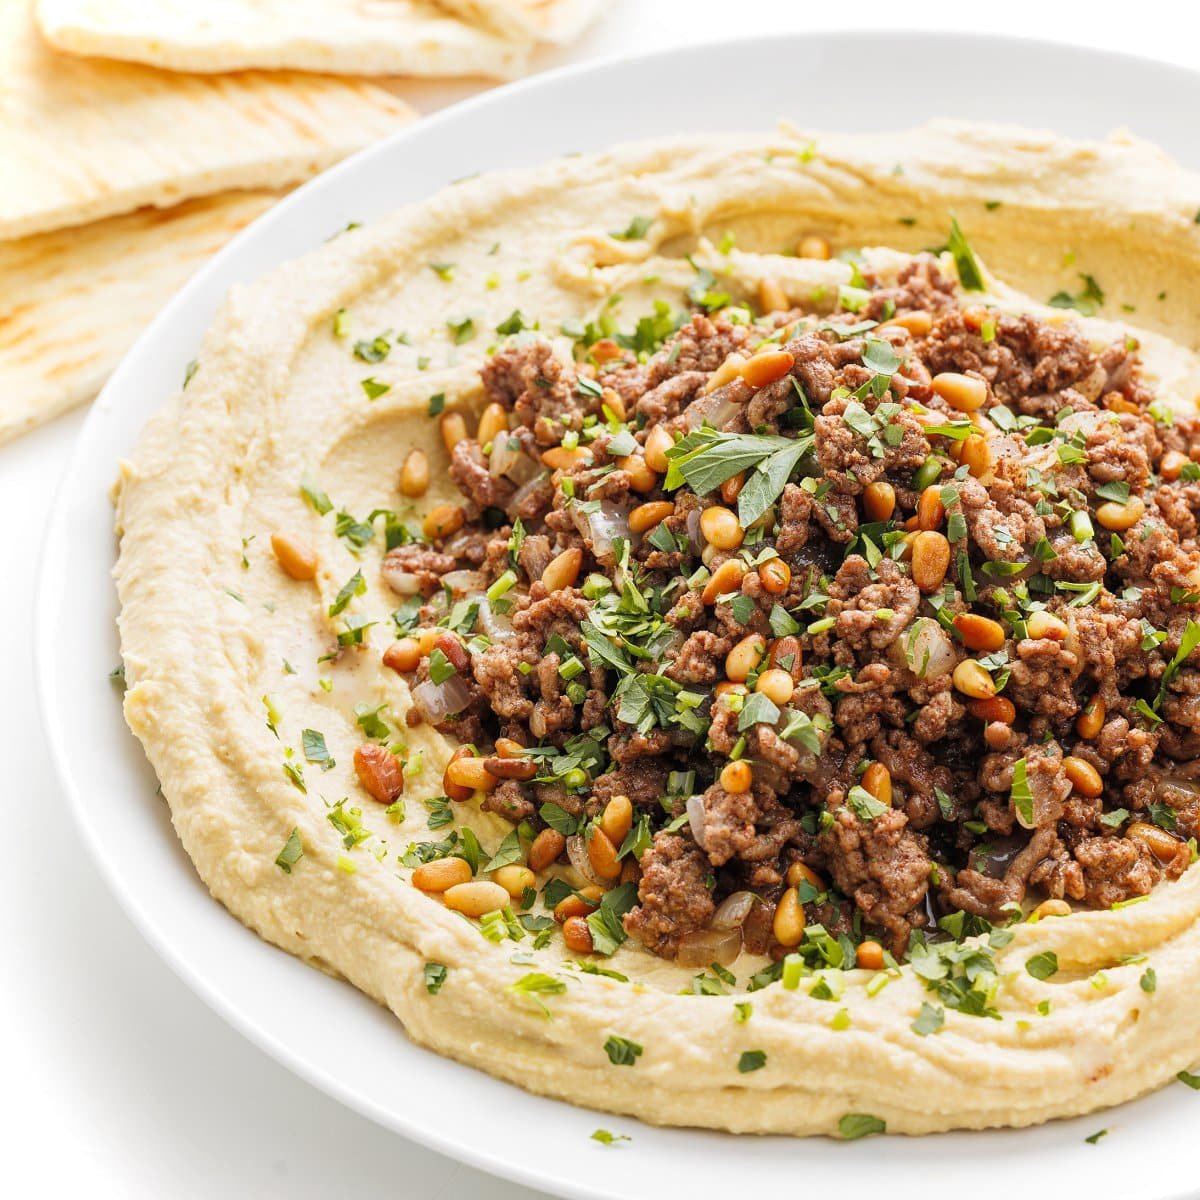
My favorite things are classic hummus, garlic hummus, and my Greek tzatziki sauce.
Store bought pita chips can still have a lot of unnecessary additives and not be any healthier than other chips. However homemade pita chips have significantly less fat and sodium, making them a healthier option for sure!
Kept in an airtight container, baked pita chips will keep for up to a week at room temperature. Just keep them in your pantry!

More Homemade Snacks
- Lime Baked Tortilla Chips
- Air Fryer Sweet Potato Chips
- No Bake Peanut Butter Energy Bites
- Chewy Oatmeal Raisin Bars
- Sweet and Salty Trail Mix
Like It, Eat It, Share It!
Did you try this snack and love it? The next time you make it, snap a picture and share it to your socials! Tag @thelemonbowl and #thelemonbowl so we can admire and share your dish.

These baked pita chips are a method more than a specific recipe, so feel free to swap out za’atar with any of your favorite spices such as smoked paprika, cumin, or garlic powder. You could even go the sweet route and try cinnamon and sugar, and dip it in a fruit salsa. Yum!
No fork required.
Ingredients
Instructions
- Pre-heat oven to 350 degrees and line two baking sheets with foil. Spray with cooking spray and set aside.
- Using a pair of kitchen scissors, cut the pita bread in half and then in half again. Continue doing this until you have chip-sized pieces (small triangles).
- Place the pita triangles in a large bowl and drizzle with olive oil then sprinkle with za'atar, salt and pepper. Toss well until pita is evenly coated.
- Spread pita in an even layer amongst both baking sheets and bake until golden brown and crispy, about 10-12 minutes.
- Serve immediately or store in an air-tight container for up to 5 days.


Leave a Reply